
Related Content
Facilitation Quick Tips: 3 Tips to Enhance PowerPoint Slides

By Lia Cassanego | May 10, 2018
Professional Learning Services Specialist, ETR
Here’s a different type of quick tip: a set of tips to help any trainer deliver more effective PowerPoint presentations. If you’re newer in the PowerPoint world, or you’ve never had a chance to learn about best practices in slide development for trainings, these tips can help.
In 15-20 minutes, you can learn to give your slides a whole new attitude!
Editor’s note: Lia is using PowerPoint from Office Suite 2016 for her examples. If you are on an older version of PowerPoint, you may not have all of these options available. If you are on a Mac, your user interface will look a bit different.
Starting Point
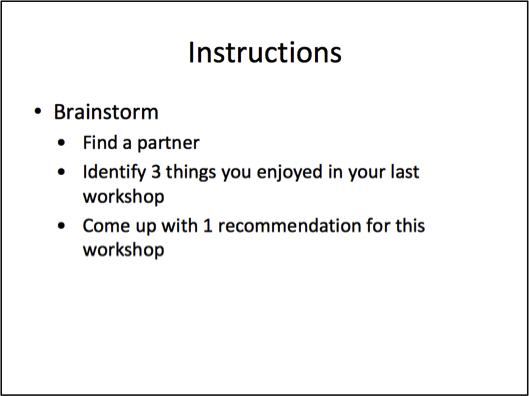
We’ve all been at presentations with slides that make you snore. Sometimes, we’ve even been the ones giving the presentation. We were rushed, the computer wasn’t working, we didn’t know the program. So somehow, a presenter (maybe us) ends up with a slide that looks like this.
Or someone did have time to prepare, but didn’t understand best practices for developing slides. Maybe you’ve seen a slide like this somewhere along the way. I know I have!
Here are three simple tips that can save you from either of these slide blunders while making your visuals more impactful and effective.
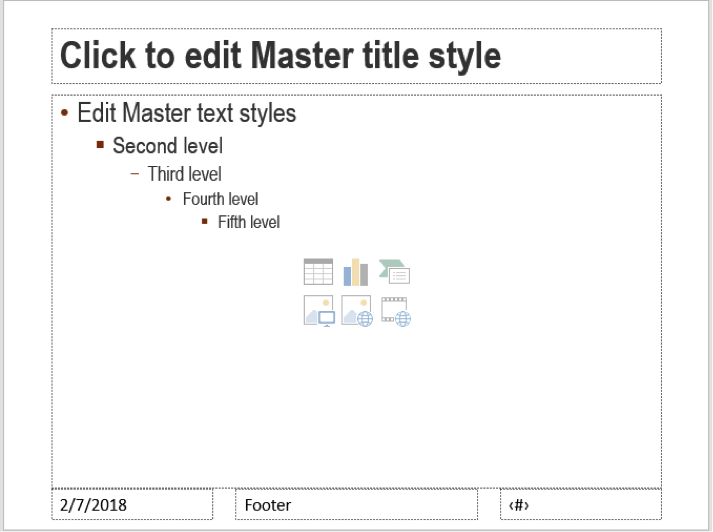
Tip 1: Use a Slide Master for Consistency
- Why: It’s fun to add lots of color and design elements to our slide decks. Unfortunately, the outcome may be a set of slides that confound the viewer. If people have to spend five or ten seconds figuring out what’s important on a slide, that’s five or ten seconds when their engagement can lag and their interest can sag.
A consistent style helps viewers know exactly where to focus and what to look for when a new slide pops up.
- Location: View Tab.

- Use: The Master View lets you adjust and adapt slide templates. You can make changes to text color, size and font, bullet style, text box size, text box location.
- How: Choose a font that’s easy-to-read (I really like Calibri and Myriad Pro). Be sure to keep the text size large enough to be seen by people in the back of the room. Dark text over light background is easier to read than light text over a dark background.
Changes made in the Master View will automatically be applied to all slide content once you exit from this view.
This isn’t just a time-saver. It ensures a polished finish product.
- Example of Slide Master View.
Tip 2: Design for Intrigue!
- Why: We want slides to be easy to read and understand. On the other hand, we don’t want them to be boring. In designing your slides, you’re looking for a perfect balance between clarity and visual/mental appeal.
- Location: Design Tab.

- Use: This feature provides design suggestions based upon your slide content. It helps you integrate text and imagery in a visually engaging way. It provides an opportunity to stand apart from those overused slide formats that communicate to the audience, “You’ve already seen this a thousand times before.”
Instead, you can display information in a new way. Surprise can be very engaging to the brain and is a helpful tool in adult learning processes.
- How:
- Place text and images on the slide.
- Go to Design>Design Idea (on the far right of the tool bar).
- Design ideas will be listed vertically on the right side of the screen. Choose an effect and try it out. Find the design that works best for your image and content!
- Example of Design Tab results:
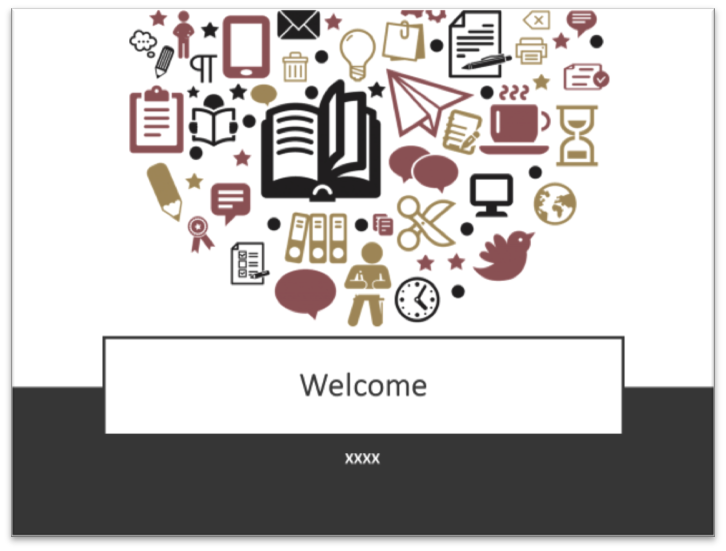
- Start: Text and an Image. I wanted to welcome participants to our training and let them know we had a full and active event planned. The elements in the slide are good for the message, but the busy quality made it impossible to communicate that message.

- Next: View Design Tab Suggestions. When you click on the Design tab, you get a range of suggestions based on your original design. Here are four of the eight I got for the slide above. Which of these do you like best?


- Finally: Pick your favorite!
Tip 3: Use Color and Artistic Effect for Style!
- Why: Color and artistic effects are interesting to the brain. You automatically build engagement when you use these effects tastefully and thoughtfully. They also affirm the fact that you’ve put a lot of thought and care into preparing your slides. Viewers may not even be aware of this consciously, but it will have an impact.
- Location: Format Tab

- Use: These features allow one to alter image color, style, transparency etc. to create: consistency, stylistic effects, and reduce distractions.
- How:
- Click on an art element so the boundary box is highlighted.
- Go to Format>Picture.
- Choose an effect and try it out. Two of my favorites are Adjust Picture, which allows you to modify transparency, brightness and color; and Artistic Filters, which offer a series of options similar to those in Photoshop.
- Examples:
- Color Tool: In my original slide, on the left, the graphic was busy and intrusive. It made the slide difficult to read. I used the Color Tool, which allows you to mute, remove or create uniform colors. By taking out the colors and muting the image, I ended up with a slide that worked!


- Artistic Effect & Color Tool: You can use these tools to mute colors and change styles. This gives you a lot of possibilities for creating slides with impact! Here are a couple of examples.


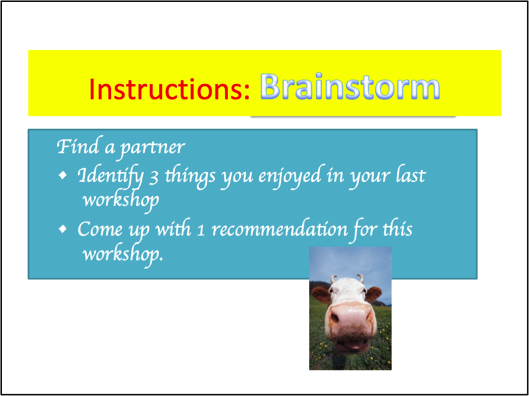
A “Brainstorm” Slide That Rocks!
Here’s the slide I ended up with for the Brainstorm instructions we started out with. A definite improvement!
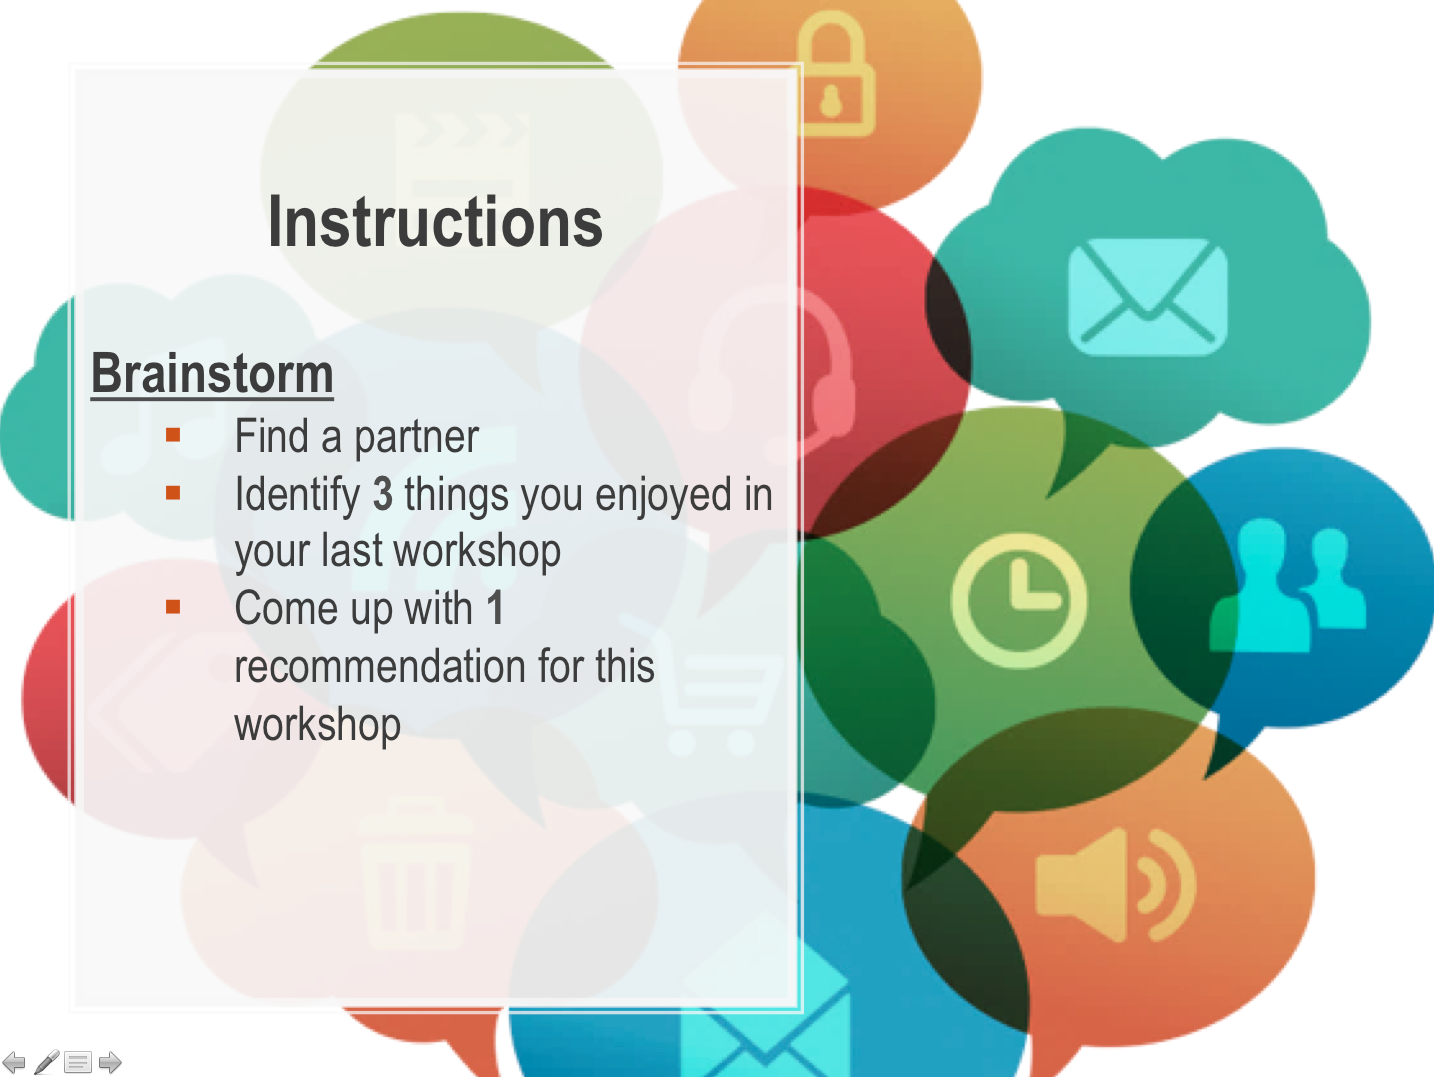
We Used a Slide Master for Consistency (Tip 1). The slide itself has a consistent style on it. I would maintain this same style on any other slides for this activity, and possibly throughout the entire training event.
We’ve chosen a Design for Intrigue (Tip 2) that gives the slide intrinsic interest. Again, I’d use this design throughout the activity, and possibly throughout the entire training. This helps participants understand immediately that the slides are part of an integrated whole.
Finally, we’ve Used Color and Artistic Effect for Style (Tip 3). These effects help liven up the messages in the slide, bringing distinction without distraction.
So…are you ready to take your slides up a notch? Let me know how it goes, and please share your own favorite PowerPoint tips in the comments.
Train on!
Lia Cassanego is a Professional Learning Services Specialist with ETR. She has worked in the field of sexual and reproductive health in school and health care settings for nearly a decade. She can be reached at Lia.cassanego@etr.or


